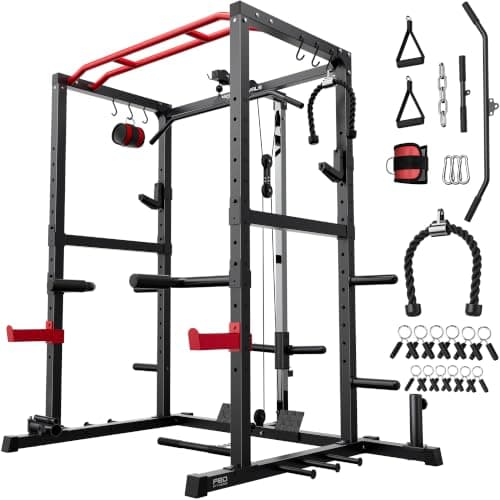
A power rack is the piece that changes what you can do at home. With dumbbells and a bench you can train hard; with a rack you can train heavy, alone, safely— because the rack's primary job is not holding a barbell at the right height. It is catching the barbell when you fail a rep with nobody there to help. Everything else the rack does is secondary to that.
Which is why the spec order for buying one is not the order the listings use. First is the safety hardware: pin-and-pipe safeties or straps, how they engage, and how finely the holes are spaced (closer spacing means you can set the catch just below your bottom position instead of six inches too low). Second is the steel — gauge, tube size and whether the frame bolts together rigidly or racks side to side under load. Third is footprint and height, which is where most home buyers get caught out, because a full cage needs your ceiling to be taller than the rack plus a pressing arm. Only fourth do attachments matter, and the honest truth is that most people use the pull-up bar, the J-hooks and the safeties, and never touch the rest.
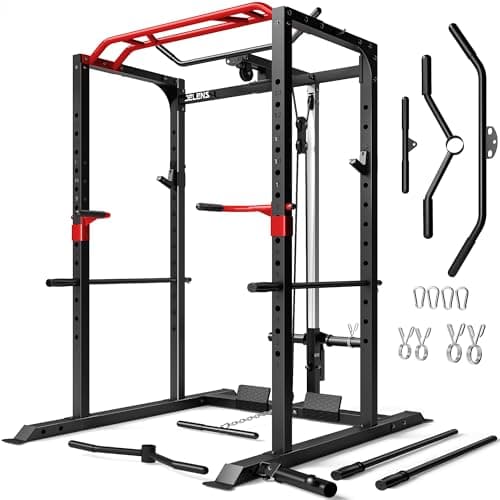
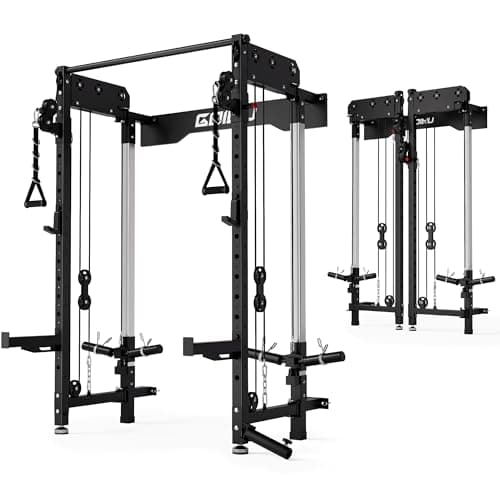
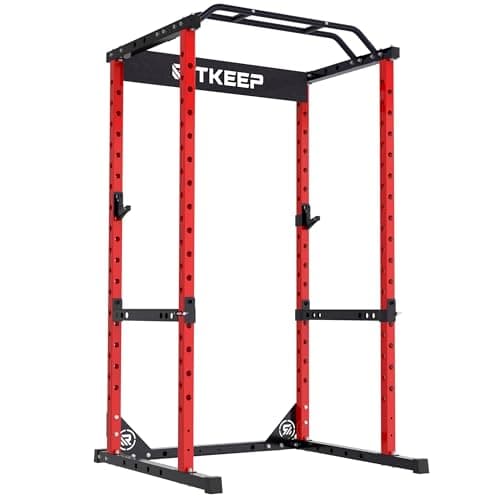
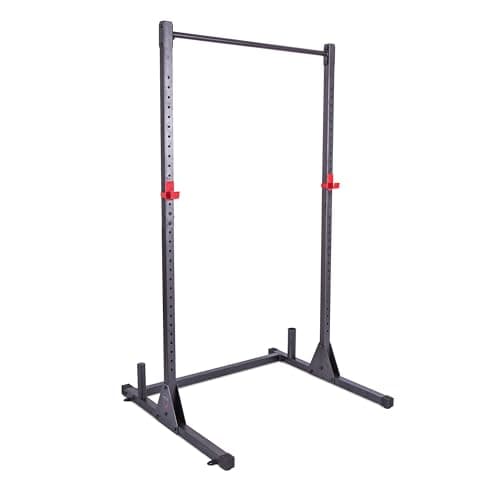
Five picks below, spread across genuinely different situations: a full cage with a pulley system, a heavy-capacity multi-function rack, a folding wall-mounted rack for rooms that cannot host a cage, a budget cage and a bare-bones classic. Measure your ceiling before you read any further — it eliminates more options than your budget does.
Measure the ceiling before you measure the budget
The most common home-rack mistake is buying a cage that technically fits the room and does not fit the use of the room. A full cage is typically around 7ft tall, and you need clearance above it to stand on the floor and press a bar overhead, plus enough height that a pull-up does not put your head into the joists. Garages with low collar ties, basements with ductwork and bedrooms with 8ft ceilings all rule out standard cages regularly. Measure floor to lowest obstruction, subtract the rack height, and be honest about whether what remains is enough for the lifts you actually want to do. Where it is not, a folding wall-mount or a short rack is the fix — not squeezing a full cage in and never pressing overhead again.
Cage, half rack or folding: what you give up
A full four-post cage is the safest configuration for solo lifting because you work inside it, with safeties running the full depth beneath the bar. A half rack or squat stand uses two posts and spotter arms — less steel, less space, less money, and less margin if you fail a rep badly out of position. A folding wall-mounted rack gives you the uprights and safeties of a rack but folds away, trading enclosed geometry and a structural-wall requirement for your floor space back. For most people training alone with meaningful weight, the cage is worth its footprint. For anyone whose gym is also a living room, the folding rack is not a compromise so much as the only version that gets used.
Safeties: pins, straps and hole spacing
The safeties are the point of the purchase, so it is worth knowing the differences. Pin-pipe safeties are steel bars that slide through the uprights — cheap, strong, and loud when a bar lands on them. Strap safeties are heavy nylon straps that catch quieter and are gentler on a barbell knurl, at more cost. What matters more than either is hole spacing: a rack with holes every 2 inches lets you set the safety just under your bottom position, while one with 4-inch spacing may force you to choose between a safety that blocks the lift and one that only catches you after your spine has already been asked an uncomfortable question. Look for tighter spacing at least in the bench-press range.
What actually gets used, and what does not
Racks are sold on attachment count and used on about four items: J-hooks, safeties, the pull-up bar and — if fitted — a LAT pulldown. Dip handles get moderate use; landmine attachments, band pegs and weight-plate horns mostly get admired. That is worth knowing because it changes what to spend on. A cage with a genuine pulley stack materially expands what you can train, because pulling under load is the gap a bare rack leaves. A cage with fourteen bracket accessories and no pulley mostly gives you fourteen brackets.
What else you need before a rack is useful
A rack on its own does nothing. You need a barbell and plates, a bench if you intend to press, and — genuinely important — flooring. Dropping or racking loaded barbells onto a concrete slab is hard on the bar, the plates and the slab, and on a suspended floor it is hard on the building. Horse-stall mats or heavy rubber tiles under the rack footprint are the standard answer and cost a fraction of the rack.
And a rack is not the first thing to buy. If you are starting out, the sequence that wastes least money is dumbbells, then a bench, then a rack and barbell once you know you will keep training — laid out in home gym for beginners. A rack bought in January and used as a clothes horse by March is the most expensive mistake in this hobby.
Same cart
The cheap stuff that decides whether the expensive thing gets used. These are add-ons, not ranked picks — no rubric, no score, and nothing here changes a verdict above.
EVMT Liquid Chalk
The rack holds the weight; your grip decides whether you finish the set. Liquid chalk dries in seconds and skips the white dust cloud that gets block chalk banned from garages and shared floors.
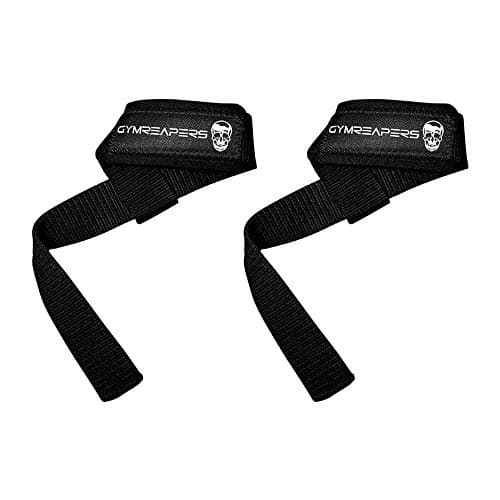
Gymreapers Lifting Wrist Straps
On heavy pulls your fingers give out before your back does, which caps the exact lift a rack was bought for. Padded cotton straps hand the set back to the muscle you are actually training.
#ad · Live prices from the Amazon Product API, as of October 18, 2026. Where fit or size varies by tub, body or machine we link a search instead of guessing, and where we have no verified price we show none. We may earn a commission.